Hi Goddesses
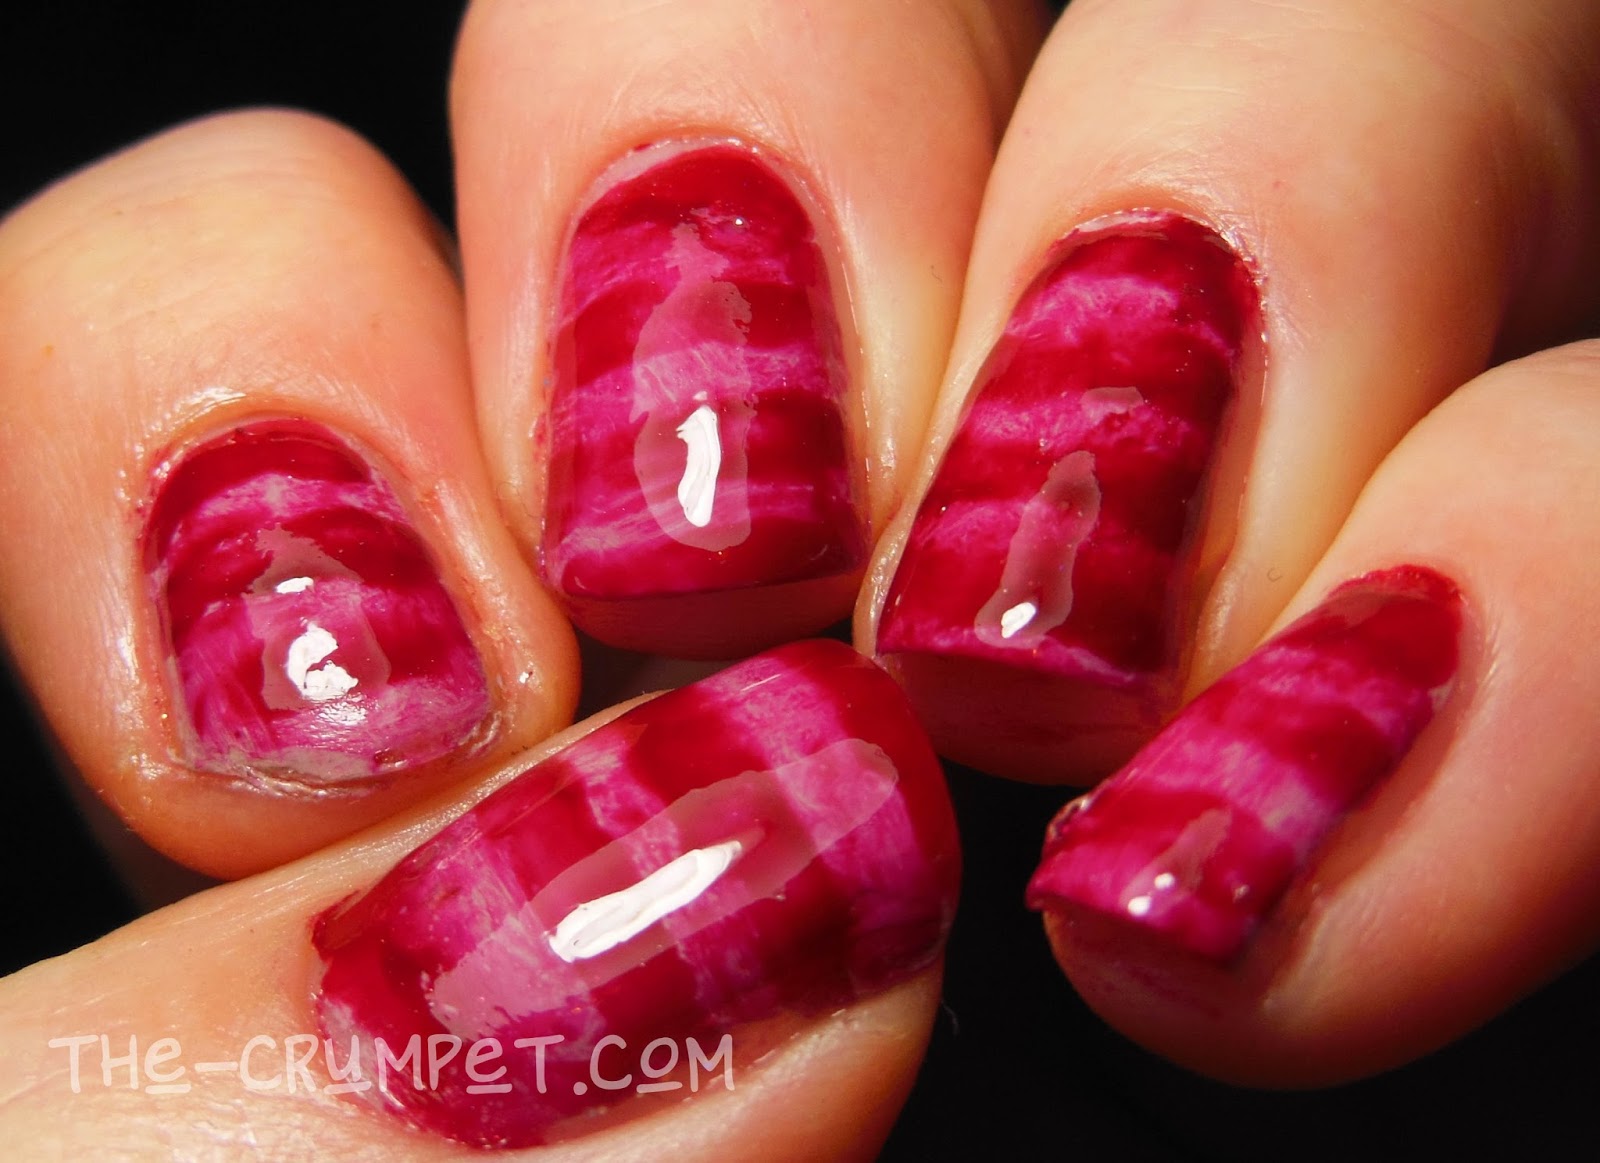
Today's mani is probably my least favourite of this week. I loved the source pattern, but somehow, it just didn't translate onto my nails.

Basically, this is a watercolour kind of base, with wiggly white stripes on top. I've seen this work brilliantly when you do a white base first and the splodge on top, but this had to be done the other way round.
And maybe that's why it doesn't work for me. The stripes look too solid on top of the watercolour and ... nah, I'm just not feeling it.
Still, I did use some pretty polishes -
* OPI My Boyfriend Scales Walls
* Grace-full Nail Polish Jacinta
* OPI Ate Berries In The Canaries
* OPI matte top coat
Ah well, you can't win 'em all!!
Hi Goddesses
And welcome to day 2 of DD Week and our neon theme.
Today's mani was the last I did for this theme, and it's actually my favourite. I had all sorts of manis planned, but never got round to doing most of them, so be prepared for neons to continue over the next few weeks.
Today's mani again uses loads of neons from the Girly Bits Hoop! There It Is Collection, as well as a few extra dots of dark green polish to create stems and dots.
This is basically a watercolour or jellyfish mani. A few dots of colour, add some acetone, and allow to puddle (feel free to help it create the shape you want with the brush you used for the acetone).
Just a tip here - I found I needed to use a lot more polish than usual to get the right effect here, which I assume has to do with the different composition of neons. No big deal, but you do need a few clustered dots of colour, rather than just one.
Don't forget to check out the other DD ladies -
Hi Goddesses
Apologies, I am a little behind with writing my posts up, so you're going to get a triple whammy of 31DC today!
First up we have Red Base, Rather than use a plain polish, I wanted to do something a little different. I've always loved THIS mani from The Nailasaurus, so that's what I went for.
The mani involves starting with a colour, and then diluting it as you move up the nail until it tapers off. I wanted to do mine slightly differently and fade in and out with the intensity.
I used Barry M Almond as my base and OPI I'm In A Holidaze as my red, and everything was going really well - until the phone rang. It wasn't a good news call, and I wasn't as invested in the mani when I returned, so I'm definitely going to have to try this one again sometime. Currently, it's a little lumpy for my liking and I'd like to get the ebb and flow a little smoother.
Hi Goddesses
Today's design draws from a technique I have seen a lot lately, and one very specific mani I saw on More Nail Polish.
The technique involves dotting the nail with very thinned out polish or acrylic paint, and soaking up the excess with a cotton bud. Once it dries, it creates this amazing see-through effect.
You've probably mostly seen it as bubbles, but a couple of weeks ago, Cathy used it to create ghosts for the Supernatural prompt in the 31 Day Challenge. Because she is way more talented than me, her shapes look human, whilst mine look .... let's be kind and say scarily inhuman lol.
I think I was scared of the runniness of my acrylic paint, and that I wouldn't be able to control it enough to create a defined shape. My first nail was the middle one, and you can see how I just chickened out and went for an amorphous blob lol.
By the time I'd got going, I felt more in control, and I LOVE my cat. I added some red eyes for max spookiness - this is definitely a technique I'll be returning to.
Hi Goddesses
It's so exciting!! This week the Digit-al Dozen are all about Florals, and I haven't been this happy with a DD week in MONTHS. Seriously, I could pretty much do florals every day of the week.
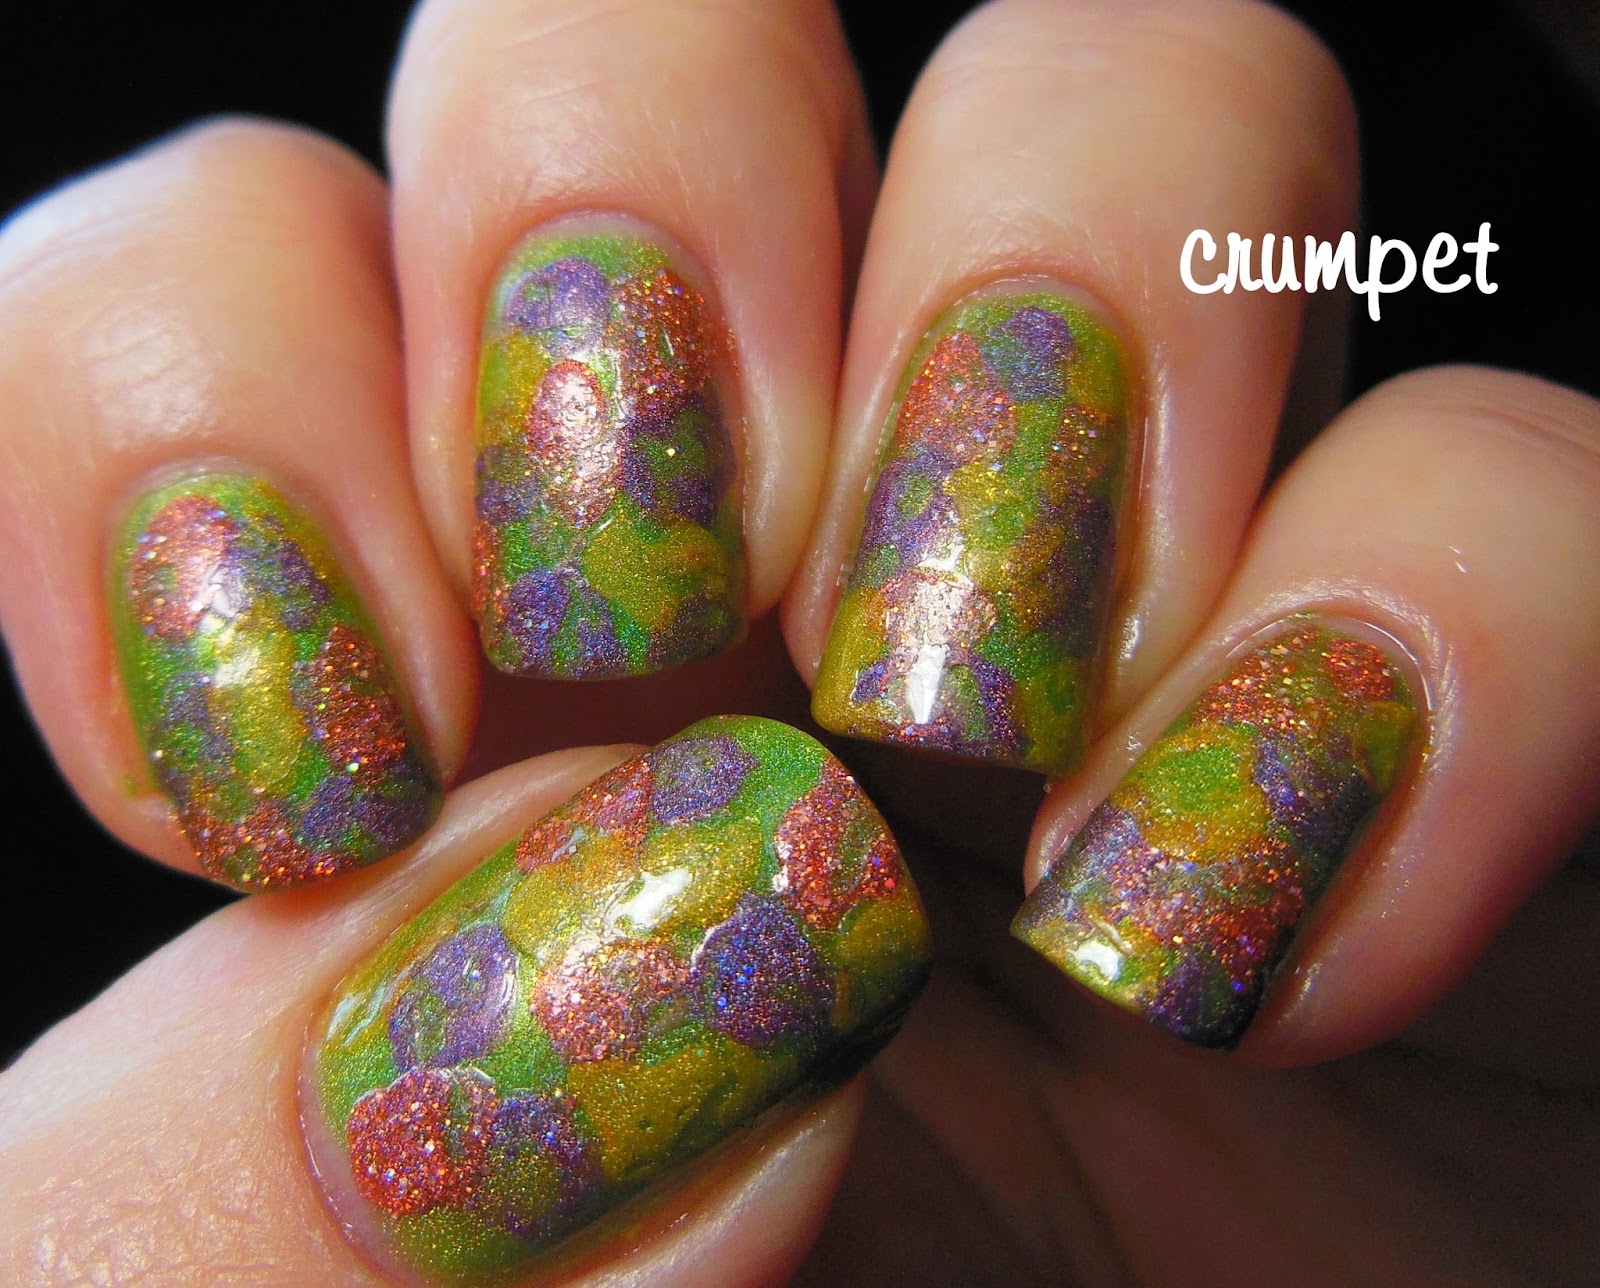
My week starts with this field of flowers I created from 4 of the polishes in the Literary Lacquers Wrinkle In Time Collection. You may remember me saying at the time how much I loved the way they played together, and this mani proves it.
The base is Who Which Whatsit, a glorious Kermit green, and then on top, I added Strong Steady Hand, Megatron and Happy Medium and used acetone to create a watercolour mix. You can see my tutorial on how to do that HERE.
The colours merged beautifully, and once they were dry, I added some teeny tiny dots with black paint, to represent the centres of the flowers.
I absolutely love this kind of mani. I love how easy it is AND how cool the finished version looks.
Don't forget to check out the other amazing ladies!