Hi Goddesses
I have finished work for the year!!! Woo hooo!!! I am now in official holiday / giddy mode, and really looking forward to lots of rest and idleness.
Well, I say idleness. I decided to just tot up how many posts I still need to write before the end of the year and er that number is ... 21 .... not so idle lol!!
This is another 52 Week Challenge catch up post for the crinkly tape prompt. I have to say, this is a very un-Crumpet-y mani!
The base is the stunning green holo of Grasshopper with Cotton Candy Hair by Literary Lacquers, and I then used my nail stencils from She Sells Seashells. I was about to add a "normal" colour on top, but I am aware of how much you all seem to like yellow (you weirdos), so I added yellow Konad stamping polish on top.
Personally, this makes my eyes hurt, but I kinda dig how zany it looks ....PLUS it made an excellent base for something you'll se in the new 31DC in January.
Hi Goddesses
I hope you're well this Monday at the start of what is going to be a VERY busy Crumpet Week. From today I am double posting every day until the end of the year, and on some days, there are 3 or 4 posts, as it's the only way to fit it all in.
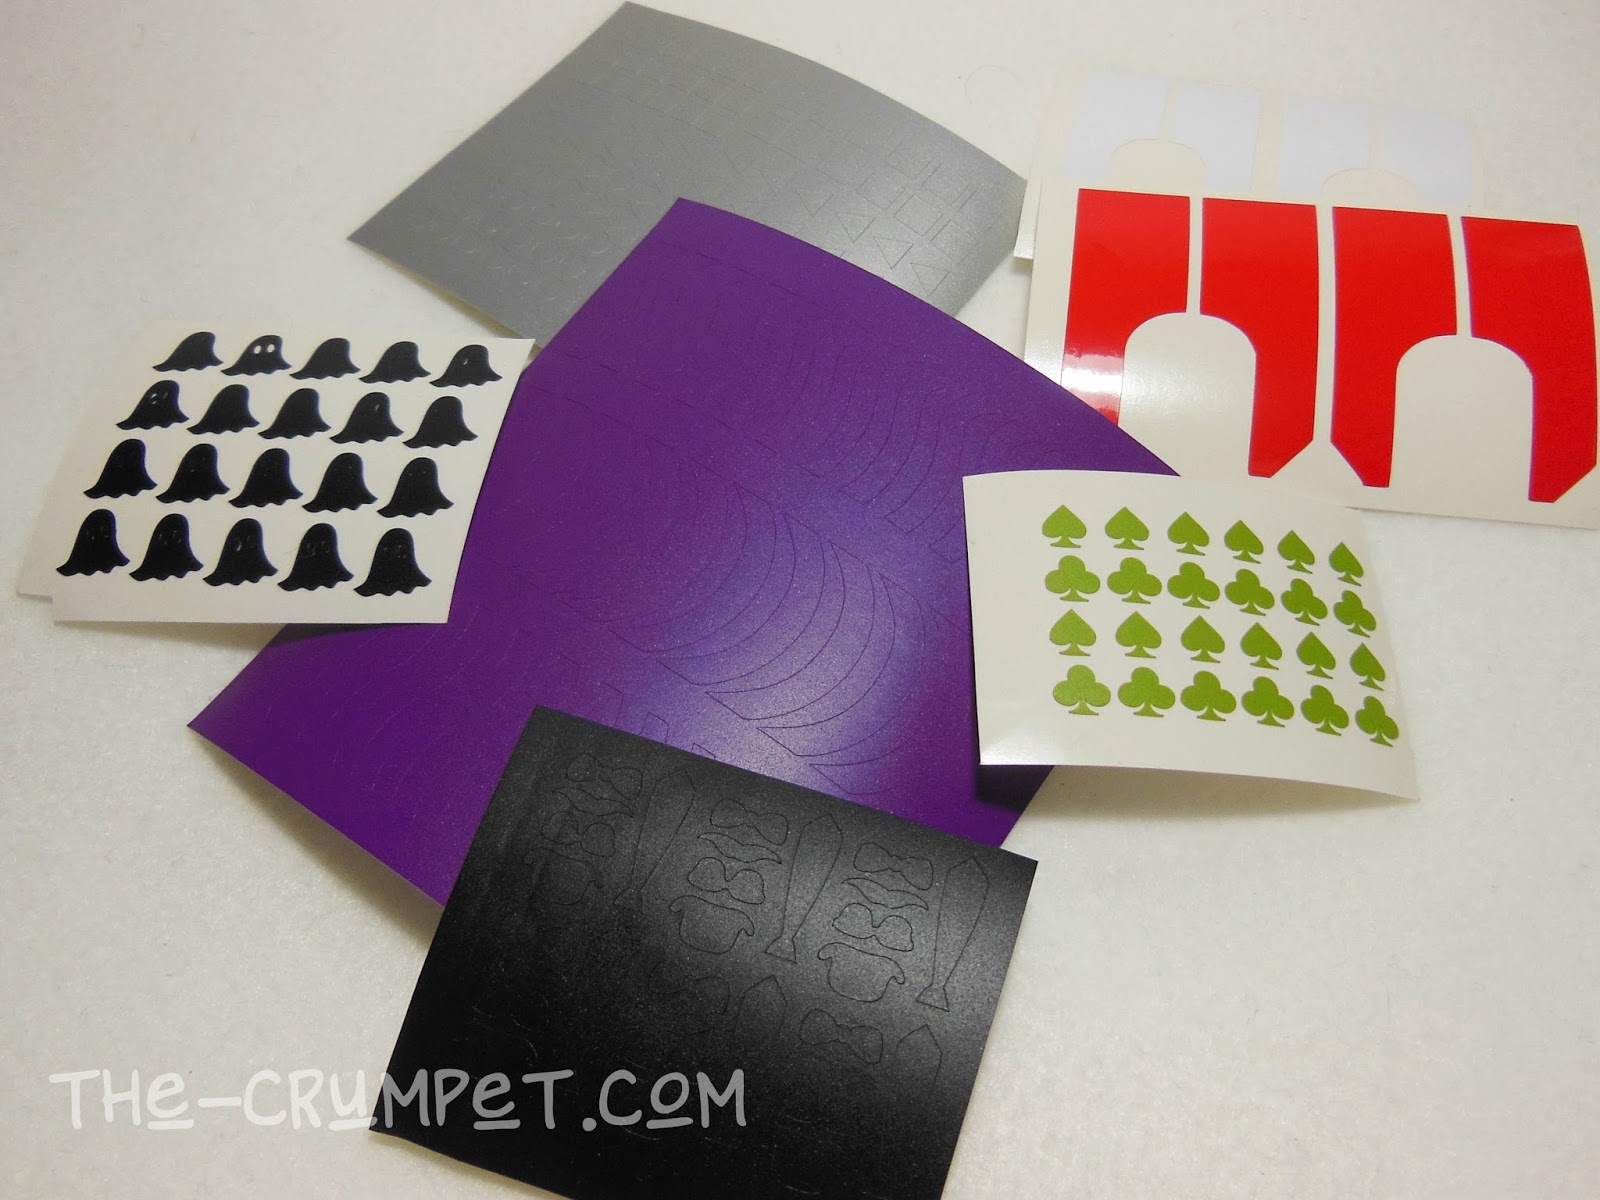
Today I have Loki's Nail Vinyls to show you from Australia. A couple of years ago, I was lucky enough to review some polishes for Loki's Lacquers, and although she shut up polish shop, I've kept in touch with Tara on Facebook. As soon as she said she'd produced some nail vinyls, I couldn't wait to try them, and she sent me a review package. I haven't tried *every* single item, but enough of them to give you an opinion.
Let's start with the basics, then, the stripes and wavy lines. I've used nail stencils for over 2 years, and bought a LOT in that time. They make complex manis so much easier to achieve, and I love the range of designs they come in.
I alternated my design and my placement on each nail so that you could see various effects. My favourite part? These were Goldilocks sticky - JUUUUUST the right amount. Didn't stick like super glue, didn't shy away from your nail like a magnet. Perfect!
Next I tried the Mr Movember package - this is not my style at all, but I thought it would be fun to pair him with a super girly colour lol, so I did (Effie's Trinket by Literary Lacquers).
These did make me smile, and were also good quality. I consider my nails normal to large, and they were a perfect fit - if you have very small nails, you might find a couple of these to be a squeeze.
I then turned my attention to the cute little shapes. I wasn't sure how to use these, and in the end, decided to make a stencil of them.
For the most part, this worked, and it was a super easy way to make sure my dots lined up!
These were really fun to use, and I used the same strip for all the nails.
And finally, the one thing I was most dying to try - the nail aprons!!!! Minimising clean-up is the holy grail of nail art. Gradients? They rock, but the clean-up sucks. These nail aprons come in 2 halves and wrap around the finger, promising minimal clean-up (they also come in 2 sizes depending on the size of your paws!)
As you can see, they did the job pretty much perfectly. Although I had a little blob on the skin, A) I can cope with that and B) you can see the bit where the blob is, is where I hadn't stuck the apron down properly.
I did manage to use the apron on more than one nail, but it did lose stickiness, mainly I think cos I had moisturised my hands half an hour before. I was really happy with the results of these.
You can buy these and MORE designs - including the cats, which unforgivably, Tara didn't send me lol - at Lokis Nail Vinyls HERE and keep yourself posted with all sorts of news on Facebook HERE.
These products were sent to be for an honest review.

Hi Goddesses
Happy Hump Day peoples! I hope you're all well.
Today I have some glorious nail art to show you using 2 Girly Bits Polishes. You've seen the silver one before - Accidental PPV - but I haven't yet posted swatches of the purple one, the utterly sublime What Happens In Vegas....Ends Up On Facebook.
To be honest, WHIVEUOF is my favourite of the Vegas inspired polishes, party for its lush mauvey plumminess and partly for that burst of golden light its holding close to its tummy - beautiful, just beautiful. (And that's before we talk specks and flecks and oh la la).
I used some Nail Vinyls to make explosion / zig zag shapes, and I'm glad I mixed the placing of them up a little to provide a touch more variety. This was also the first time re-using a nail sticker, and I managed to get 2 gos out of each one (but had to be careful to stay mess free).
I love this combo. 2 GAAAAAAHHHHHHlorious polishes, some easy peasy stenciling, and boom boom boom, nail art is your uncle :)