
Hi Goddesses

Are you ready for some excitement?? Here we FINALLY go with some tutorials! The How To series is mainly focussed on nail art and techniques, but it will also have some other themes such as photography, networking and other blogger-friendly stuff :)
Now, I dithered. I did. Photos or video? My nails or a swatch stick? In the end I settled on photos of a swatch stick - but please let me know how this works for you. For me, it was a quick and easy process and a good place to start - maybe one day I'll head to YouTube, but not just yet :)
Today's mani then is the Acid Wash nails I did here -

Many of you loved them, as did I, and you also wanted to know how I had improved from this monstrosity - lol.

First up, these are the tools you're going to need -

- your polishes. I would suggest you do a colour family or colours that match, starting with the lightest first. Part of the failure of the original mani is that some colours just do not look good on top of others

- a stiff brush. Mine is just from a set of brushes, it's nothing special. Short bristles are going to work better here.
- lots of acetone / polish remover
- a napkin, to keep wiping your brush on
- a quick drying top coat
- your usual base coat
Ready? Let's go!
Step 1

Apply base coat, and your first polish. How many coats is up to you, but you need opacity here. Apply top coat. This is essential as you need to create a barrier over this base polish.
Step 2
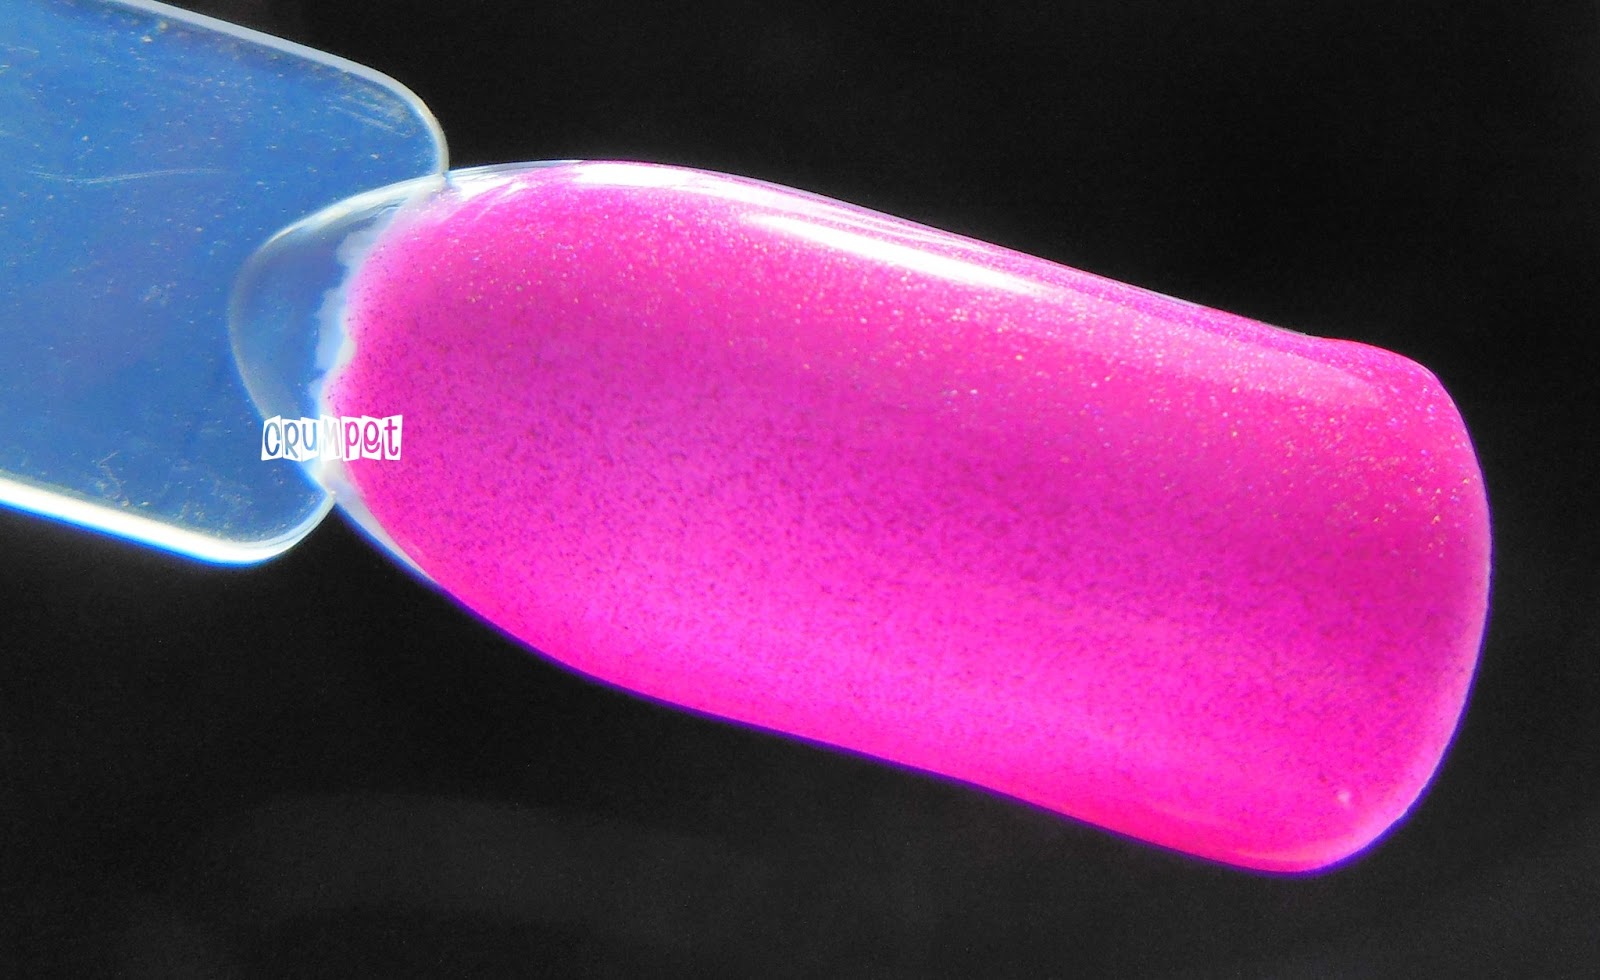
Apply 2nd polish - 1 or 2 coats, your preference. I used 2.
Step 3

Apply 3rd polish, again, 1 or 2 coats for preference. I used 1. It's up to you how many polishes you use, so Step 3 isn't essential - you could just use 3 colours. After my final colour before the final colour (if that makes sense), I apply top coat again. This is optional - I do it so that when I start the acid wash part, the acetone doesn't want to go further than this colour. This then gives me more control over revealing the other colours.
Step 4

Apply final colour (apologies for the crap pic).
Step 5

Take your brush and dip it in your polish remover. You want to make firm strokes with it, in the same direction. Start gently and build pressure until you break through the top coat to the colour beneath.
I recommend that after you create each "slice" in your polish, you wipe the brush on your napkin, and redip in acetone. This is especially important when you get to the deeper layers, as you don't want a dirty brush to pollute what you're doing.
Step 6

Keep repeating this - don't go further than that first colour at this stage.
Step 7

Once you are happy with the "slices" you have made in your polish, you are now ready to proceed to the next layer. My personal preferences are this - don't go to the next layer on every "slice" - you want to ensure colour variation. Don't go to the 2nd colour throughout the whole of your "slice" - try to maintain a coloured rim, again for colour variation.
Step 8

Repeat, this time going down to your base colour. Again, don't do it on every "slice".
Step 9


Review. Are you happy, does it look right? Sometimes I add more slices now, or make some of the slices bigger. This is where you get final approval :)
Step 10

Apply top coat - I always use Poshe.

And there you have it. I love these designs, and they are also such fun to do. If you try this, post it on my FB wall so that I can see how you got on, and please let me know what you thought of the tutorial.

Enjoy - and have fun! xx :)


