Hi Goddesses
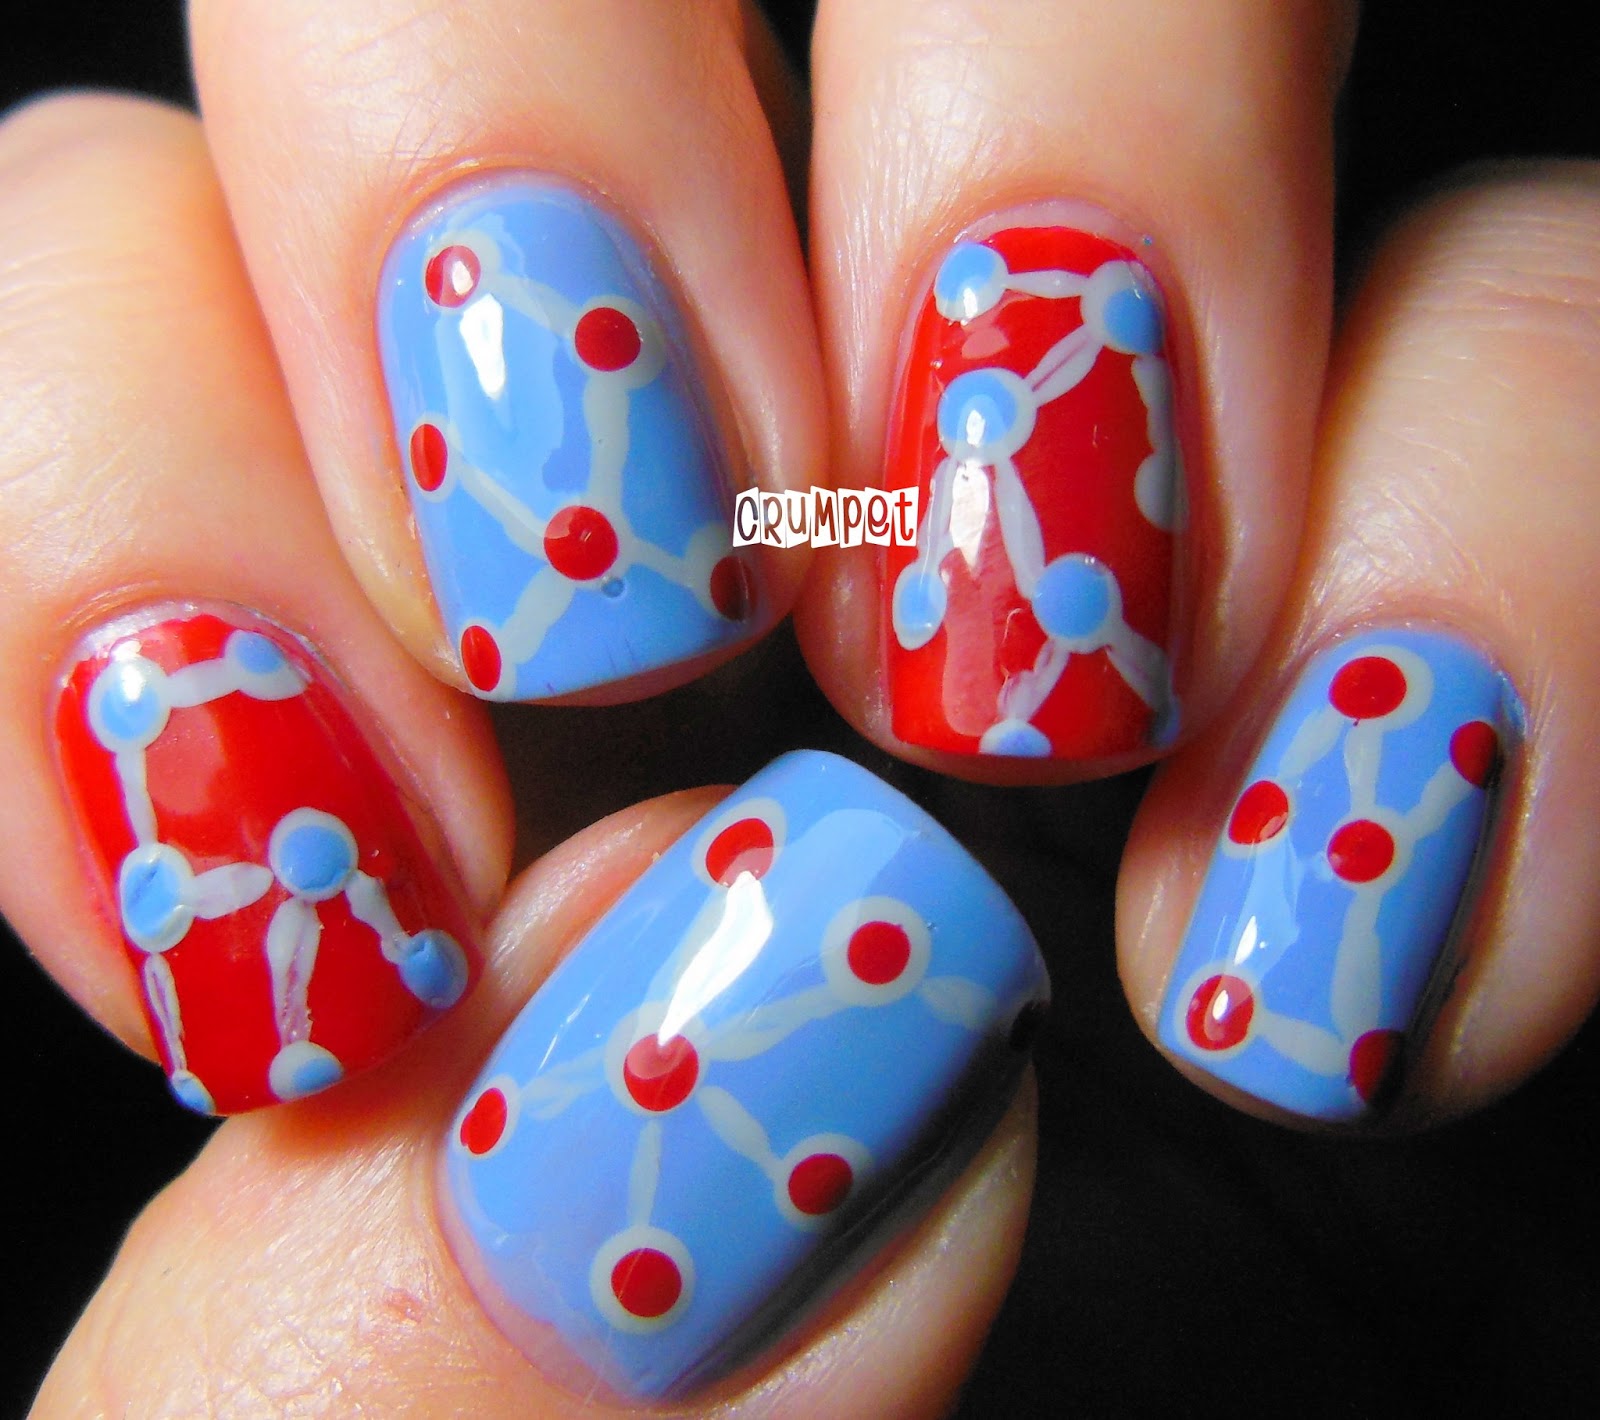
The Tri-Polish Challenge is back, and this month, we are using red, grey and blue. Today is also a little bit special because I am also reviewing one of the Nailz Craze plates – NC03.
This is going to be a bigger post than usual, and also, there are 2 sets of Tri Polishes going on, as the first 3 I picked just didn’t play well together – shall we start with them?
So here we have this lovely floral and vine design from NC03, which is over a gradient of Butter London Smog and OPI Give Me The Moon!, which is one of my very favourite grey polishes. Unfortunately, everything that makes it gorgeous – shimmery, brown based yet blue tinged – worked against it when I paired it with Smog, and it really struggled to hold its ground. It did, however, make for an awesome gradient.
So this is a Smog-Give Me The Moon! Gradient, and look how effortlessly they blend. Smog itself is quite sheer and slow to build, which makes it an excellent polish for gradienting.
I used Konad White for stamping, and I love how wintry this turned out. Very cold, very snowy, very Scandinavian!
Next, my favourite mani in this post, using the famous scarf / sweater stamp. It seemed liked everyone used this stamp in December, and it’s easy to see why.
This is on a base of what became my final 3 Tri Polishes – KIKO 329 and 339 and Barry M Blood Orange. I used the 329 as the base and then splodged on top using a make-up sponge. This time however, I splodged slightly differently, and used a small cube of sponge and some tweezers so that I could have more variation.
I really like the effect that created, plus the added pseudo-purple where the blue and the red overlapped. I used Konad black as my stamping polish and oh lala, after a lick of top coat this looked sensational.
I absolutely love how this turned out. HOWEVER … the stamp itself is very big (as they all are on this plate). Now usually that’s a good thing for me as I have wide nails; however, I don’t have the length, and that meant I missed some bits of the pattern. Also, for a laugh (and to show you exactly how big the stamps are), I stamped lengthways on my little finger rather than horizontally – funny, eh? I also still haven’t perfected centring and getting a linear pattern STRAIGHT, so if anyone has any tips, please comment away.
And finally, the Babushka doll. There are 3 on this plate, and the largest is definitely the prettiest. Unfortunately your nails need to be HUGE to capture her in her entirety – I could only fit her body onto my nail.
Here I’ve placed my thumb alongside the stamp to show you how much longer my nails would have to be to get all of her on. Seriously, I’d be scared to wipe my bum or pick my nose if they were that long!
The 2 smaller dolls WERE the perfect size for my nails, but if your nails are small, I think you will struggle. I also couldn’t get the head of the largest doll to stamp, despite using a lot of tricks or variations – I don’t know whether she and I had just fallen out by then or what, but I don’t know of anyone else who has had a problem with this plate, so chances are it’s me.
So, do you NEED this plate? Well yeh, I think you do. Although the Babushkas initially catch the eye, it’s the 2 square stamps which I think are the most beautiful. You’ll also notice I didn’t stamp the strange mouse-monkey creature or the vine lol. I do think this is a nice plate, and I know I will definitely use it again, but only for those 2 square stamps.
You can buy Nailz Craze plates on Etsy HERE for USD7 each, which I think is a reasonable price for their quality. Beware though, some of the edges of the plate are a little sharp. There are 4 plates in total, and I’m really excited to see what Natalie comes up with next.
EDIT EDIT EDIT
Since this post, Natalie has written back to me with some clarifications, and also to remind me she created a code CRUMPET10 for anyone buying the plates. Here are her words -
Also wanted to say that the largest Matryoshka toll wasn't meant to fit one long nail, but to be split into half just like the real thing. You can see how I meant for it to be used here:
Also the name of the monkey looking creature is Cheburashka, it's a cartoon creature from a very famous Russian cartoon for children :)
You can check Wacky Lacky's post with a mani she did with him, and also see the short explanation about him :)
This product was sent to me for an honest review.