Hi Goddesses
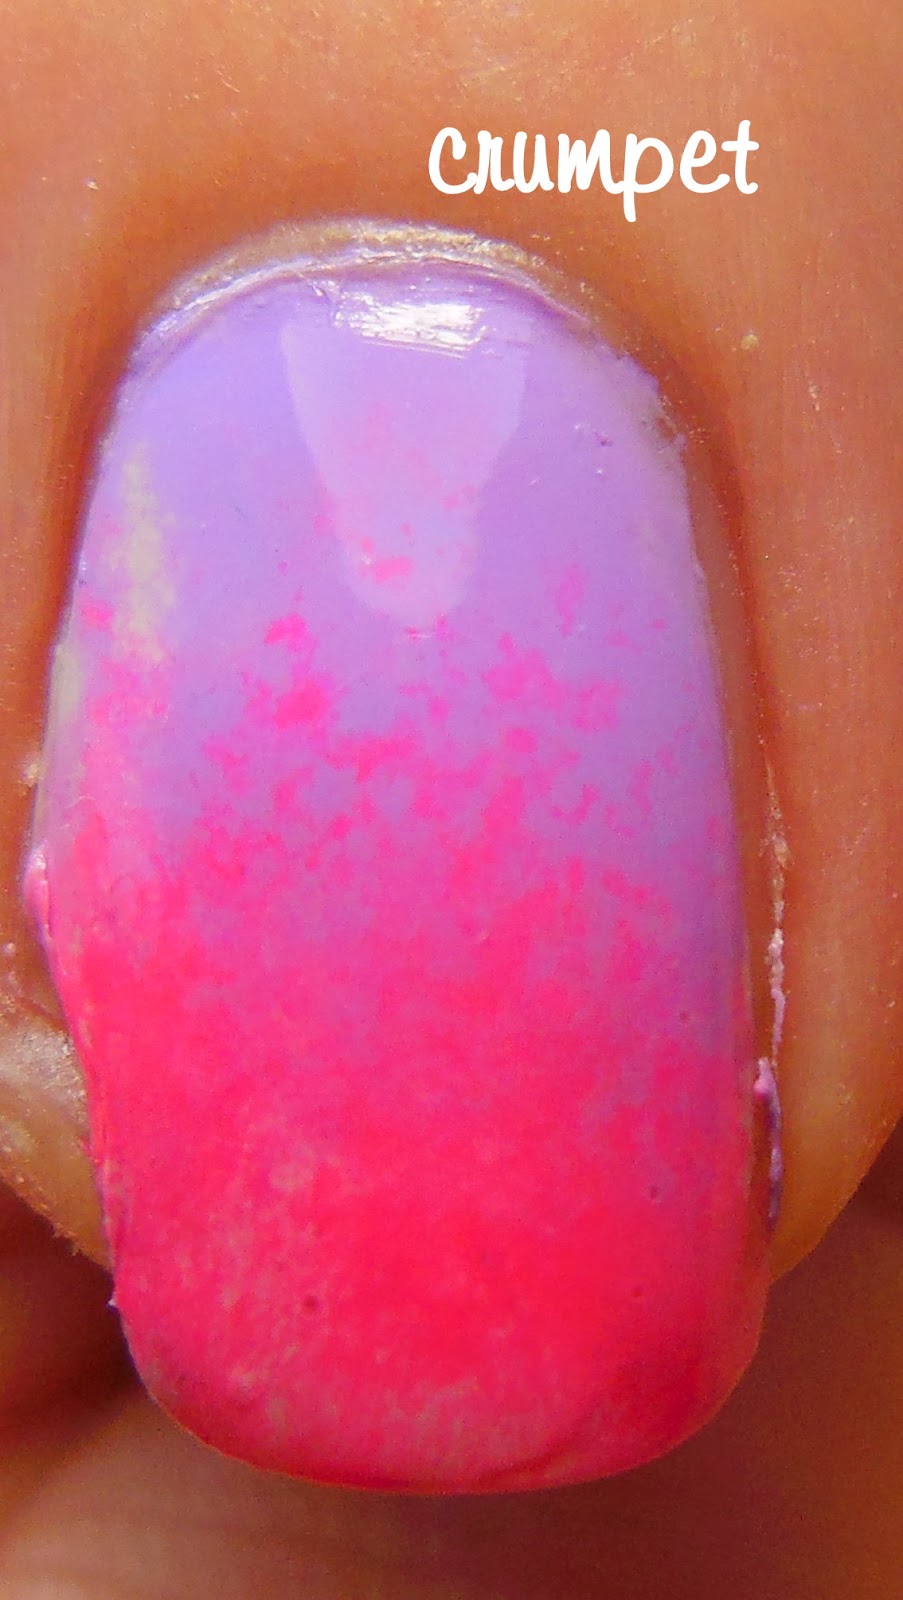
Today is the last of our "dots on top of a non-plain base" manis, and today we are dotting on top of a gradient.
As with the last couple of manis, the purpose of this is 2-fold -
1. to show that you don't have to have super advanced skills to make a really pretty mani with depth and interest to it
2. it's a great way to extend your mani over the week - Day 1, plain > Day 2, gradient > Day 3, ooooh I'll add some dots
Dotting over a gradient is one of my favourite styles of manis. It's simple, easy and PRETTY :)
Here I've used the base I did for gradient week, and then dotted over it with BSquared With All My Heart.
No tutorial for this one, but here are some other manis you might draw inspiration from -

 source


Enjoy!
Hi Goddesses

I hope this has given you some easy and fun ideas - see you in group! xx
Hi Goddesses
We now enter a brisk 3 week rotation on Simples without videos, because all 3 posts are about using what we've learnt so far to layer your look.
To prove how easy it is, we're going to dot over various types of bases, and today we're dotting over a Saran Wrap or Splodged base - I have used the Splodged base I did for Week 9.
I've then added dots on one side of the nail - I actually did it because I was a little bored lol, but I think the effect is actually quite cool. I don't often do half-and-half, but this works for me.
Dotting over some sort of base is one of the easiest ways to do simple nail art that looks more complex. It's also a great way to get more than 1 day out of a mani. You can add your dots a day or 2 in.
Here's some other versions you might like.
 dotting over a glitter base
 dotting over a more sparsely splodged base
Don't forget to post your look in the Simples nail art group.
Hi Goddesses
Hmmmmm. Where to start. I was very much looking forward to this tutorial, and explaining the different types of gradient, and how to reverse mistakes and .... hhhmmmm.
L to R - all China Glaze - Lotus Begin, Peonies and Park Ave and In A Lily Bit
The voiceover is fine but I am really disappointed with the video - I tried a new camera angle and there are parts of the video where it really doesn't work, so I apologise deeply for that. I may have to replace it at some point.
Gradients seem to frustrate a lot of people, and in the video I make the point that that's because a lot of people are aiming for Nailasaurus perfection. Whilst her gradients are epic, they came with a LOT of practice, so don't beat yourself up.
The video does explain a slightly different gradient you can start with - the sloppy gradient - and also how to colour correct.
BOUNCE
This is the key word. Whatever type of sponge you use, your touch must be light and bouncy, as if your nail were a venus flytrap. The bouncier your touch, the more subtle the effect. BOUNCE !!!
Here's the video, and then we'll look at some great examples -
So just to recap the examples you saw in the video -
The Nailasaurus version - check our her video here.
The sloppy gradient - my preferred style.
3 colour gradient.
Sideways gradient, painted on to sponge.
Gradienting over an existing mani and colour correcting.
SO CAN YOU USE ANY TYPE OF POLISH TO GRADIENT?
In theory, yes, although some lend themselves better than others. Very opaque polishes are hard to merge, whilst jellies are a sponging dream.
2 holos can be tricky - sometimes the light robs you of the effect you want - and just bear in mind that if you use shimmers, clean up will be a bitch!
And now some examples -


 This is my favourite ever sloppy gradient - I just love how the colours run and ooze together.


So there you go - if you have any questions, please leave them in the comments, or share them in group xx