Showing posts with label OPI Vant To Bite My Neck. Show all posts

Saturday, 30 March 2013

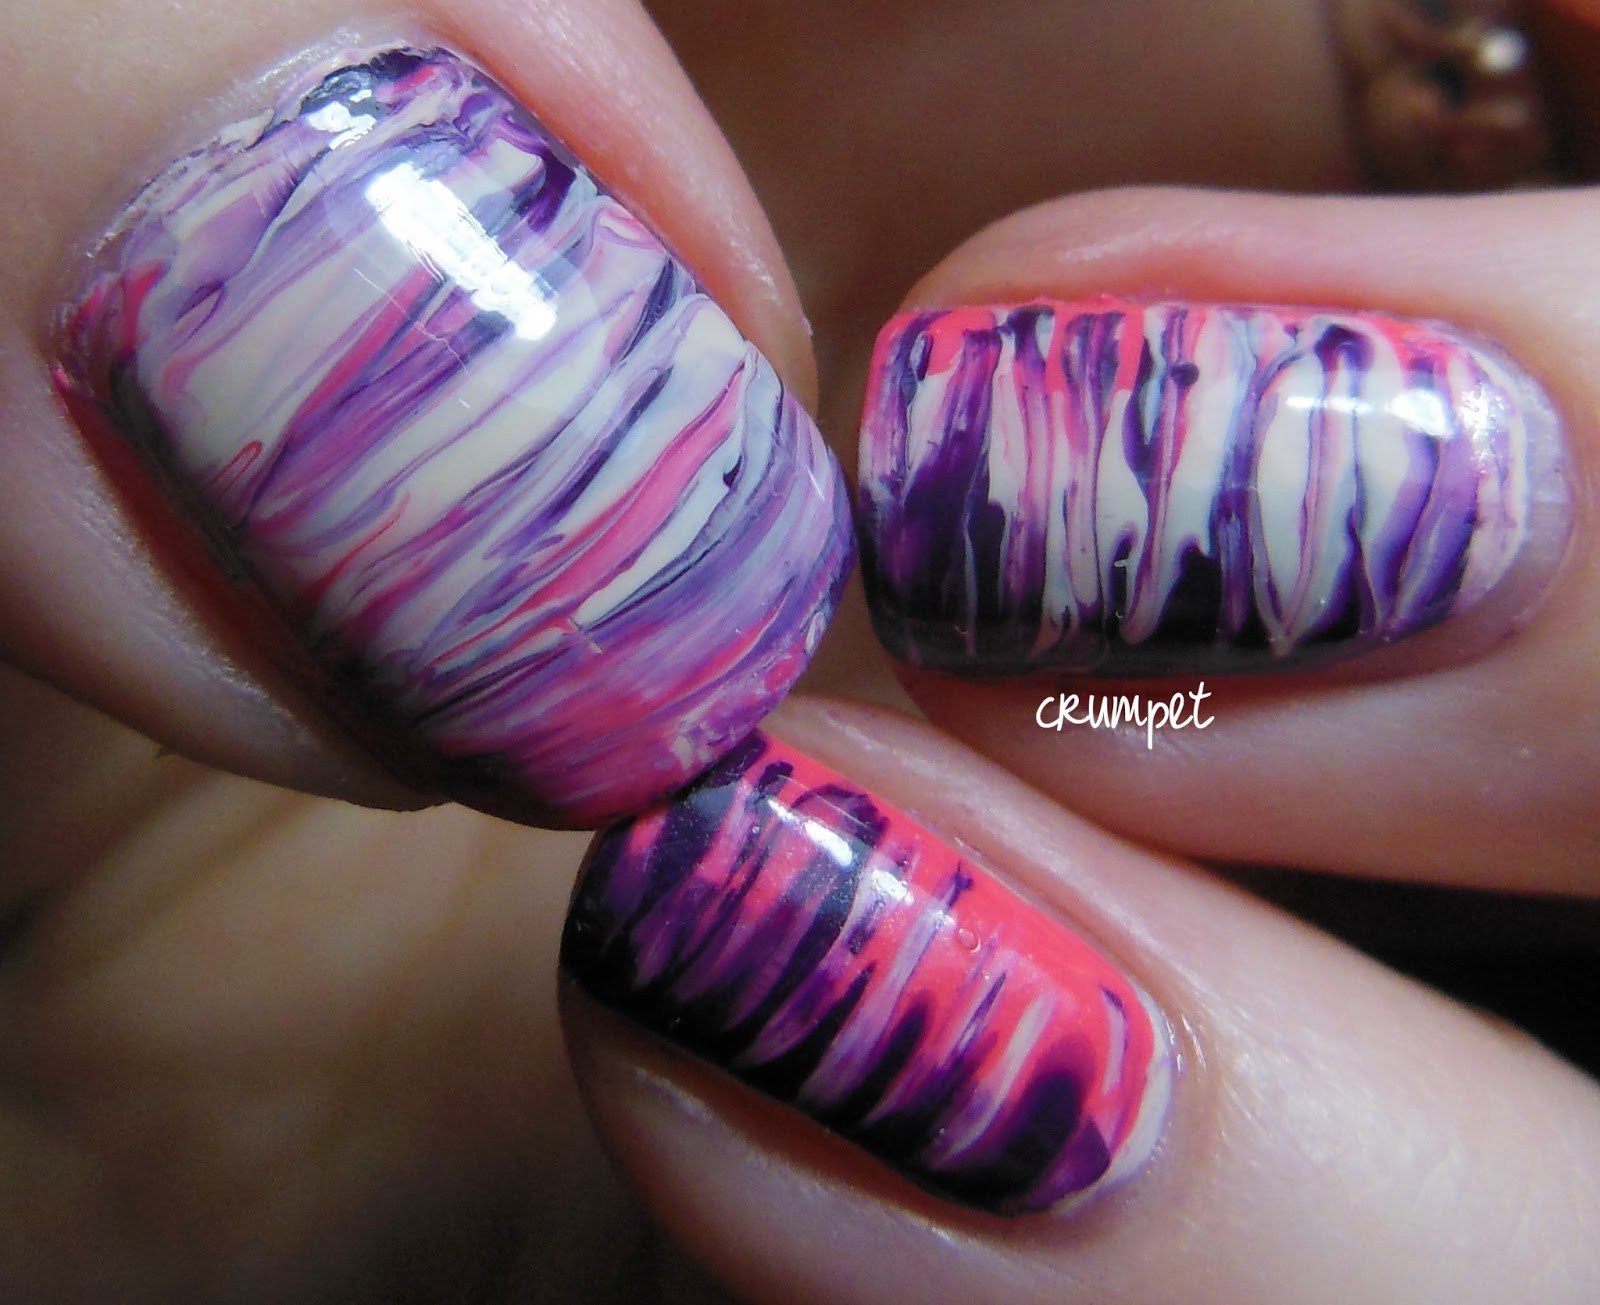
OPI Nail Art - Watercolour Nails

Hi Goddesses


And welcome to the final post featuring the 3 OPI polishes I was sent for review - My Vampire is Buff, Suzi's Hungary Again and Vant To Bite My Neck.


I hope you like that you've seen 5 nail art looks rather than just 3 swatches, but let me know - I'd love to know your thoughts.


Watercolour nails are great and fit right into the splodger category.  You really can't go wrong with them, even if you DO go wrong lol.   I've been asked for a tutorial on them, and I will .... soon.   There's a lot of different hitting the blog soon, and Tutorials are very high on that menu.


This started with 2 coats of Buff and a coat of Poshe.  You need the top coat as a barrier for the next step.  I then dotted on some of the darkest colour and then blobbed acetone on top of it to dilute it and used a smallish nail art brush to move it around.


Once that's dry you can add your second colour, and repeat.   If you're not happy with your colour balance, just keep fiddling til you get the look you're after.  I added a bit more pink to some of these nails and a bit more purple to others. The joy of this look is that random = more :)


If you're in the UK, you can buy these polishes HERE.


I hope you've enjoyed this week :) xx

Friday, 29 March 2013

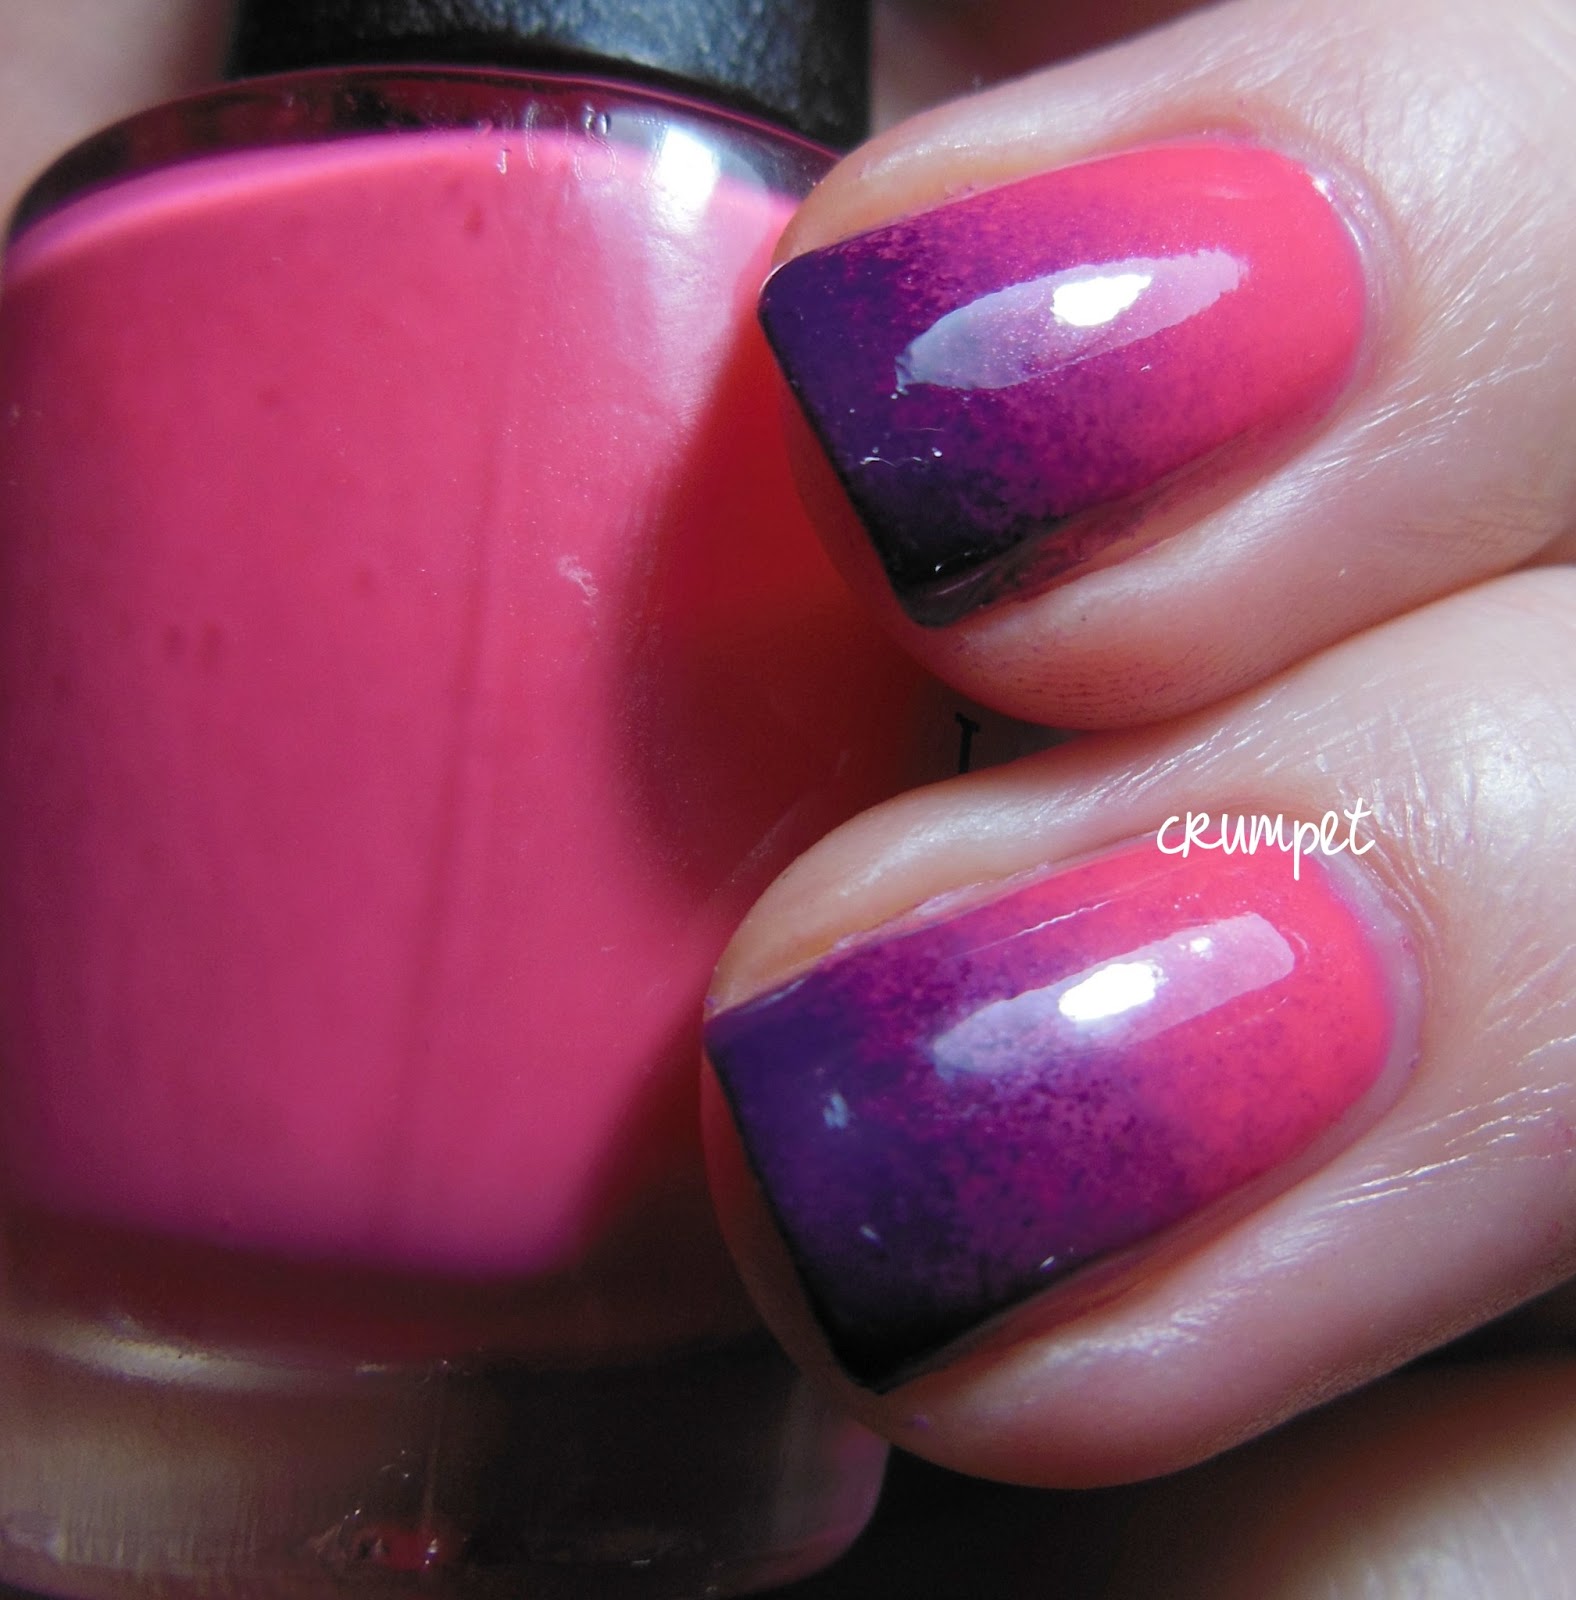
OPI Gradient - Suzi's Hungary Again meet Vant To Bite My Neck

Hi Goddesses


Welcome to the long weekend!!  I've got a gorgeous gradient for you today, possibly one of the best I've ever done.


This features 2 of the OPI polishes I was sent for review, which, if you live in the UK, you can purchase HERE.   Suzi's Hungary Again is the pink, and Vant To Bite My Neck is the purple.


I love the effect on some of these nails, that lovely mushy moment in the middle where the colours start to collide and mush together.


These 2 colours were also made for each other - they match each other so well, it would have been rude not to gradient them :)


Tomorrow you can see my final post in this series - watercolour!


Enjoy xx :)

Thursday, 28 March 2013

Tri Polish Challenge - Day 4 - OPI Call Me Gwen-Ever Skittles

Hi Goddesses


Today is a super exciting day in the UK - we now have 4 days off work til Tuesday.  Ooooooh so many polishes to play with!  I have a lot of swatches to finish as well as Floral Week to prepare for :)


So, here's my final Tri-Polish mani, which if you remember features 3 OPIs - Call Me Gwen-Ever, Thanks A Windmillion and Vant To Bite My Neck.


If I'm honest, this is my least favourite of the 3.  I love the coral tones of Gwen-Ever, and I think she shines through with a LOT of glory in this mani, but the overall effort is not quite what I wanted.


I think I'm most miffed about my leaky half moon :(  I seem to have real issues keeping tape and stickers stuck down on my nails, so if you have any tips, please leave me a comment!   Usually - as in this mani - something lifts near the nail wall and I end up with a big puggle of polish :(


Also, the index finger didn't work.  You can't tell, but there's a medium sized dot, surrounded by smaller dots, with 2 of those small dots feeding into the next circle, and so on.  I thought it was SUCH a cool idea.  I think I'm going to have to try it with different colours.


I hope you've enjoyed the Tri Polish posts.  It's certainly a different kind of challenge, and it's been really cool to see everyone come up with something different.  It's not too late to get involved, just click HERE.


Enjoy xx :)


Wednesday, 27 March 2013

OPI Review + Splatter Nail Art - Vant To Bite My Neck?

Hi Goddesses


Today you get to see the majestic beauty of OPI Vant To Bite My Neck and then enjoy my favourite nail art technique - splatter!


VTBMN looked a bit of a meh purple in the bottle.  Dark but not stunning.  Dark but not dangerous.   Dark but not ... anything.  On the nail though, she's a whole other story.


On the nail VTBMN is dark, sexy and dangerous.  Almost opaque in one coat, it goes on with total ease, and is very similar to Barry M Blackberry, if you've been struggling to get your hands on that.


This is a great "standard" purple - it's the perfect dramatic backdrop to a shelf full of glitters, and a great contrast polish for nail art.   Lovely.


Those of you who know me will know how I love my splatters.  It's nail art at its most simple, and also at its most childlike.  It creates a pure, happy state in me :)


Overall, this isn't my favourite splatter I've ever done, but you do your splatter and you takes your chances - the polish will fall where IT wants to!  


I do like though how I've accidentally ended up with a flower type pattern on my ring finger :)


These polishes were sent to me for my honest review.  If you're in the UK, you can pick them up HERE.  Enjoy, and I'll be back tomorrow with a gradient :) xx

Tuesday, 26 March 2013

OPI Review and Needle Drag Nail Art

Hi Goddesses


Welcome to Day 2 of OPI Week aka Crumpet playtime :) where I got to play with the OPIs I was sent for review - Suzi's Hungary Again, Vant To Bite My Neck and My Vampire Is Buff.


I have never mastered needle drag marbling, much as I have wanted to, and I ended up having a conversation about it with some of the goddesses from the Digit-al Dozen at the weekend.  What you see here, is the experimenting I did to try and find my perfect needle drag technique.


Firstly, what is needle drag?  Well, it's when you apply various blobs or stripes of wet polish to your nails and use a tool (usually a needle, hence the name) to "drag" the polish in various directions.  You'll also see this referred to as tie dye nails, and when done well, it's really gorgeous.


Whenever I've tried it before, I've been unhappy.  I've either ended up with gouges from where I've dug my needle in too hard, or just not got a pattern that's appealing.


In the end, the Digit-al Dozen came up with 3 techniques -

* Katee from A Girl and Her Polish uses a needle stuck into the end of a pencil with an eraser on it, to make a super long and fine dotting tool

* Sue from Creative Nail Design by Sue uses her thinnest dotting tool

* and Stephanie from Sincerely Stephanie uses a striping brush.


So can you guess which is which?


The index finger is the needle, and although it spread Suzi the best, I don't like the "wibble" effect with the shaky lines, or that the lines are so thin.


The middle finger is the thin dotting tool, and whilst I do like this, it left groove lines (as did the needle).


The thumb, ring and pinkie are using a size 0 nail art brush. Whilst this had a thinner tip than the dotting tool, the softer material creates softer nail art.   The brush does get thick quite quickly though, so you need to keep wiping it to keep your lines thin.


For each nail I applied 2 coats of My Vampire Is Buff and top coat.  The next day, I added a heavy stripe of each of the 3 polishes to each nail (make sure you only do 1 nail at a time) and then started playing.


So which is your favourite?


Enjoy - these polishes were sent to me for review and you can also buy these polishes HERE if you're in the UK.

Enjoy xx :)
Related Posts Plugin for WordPress, Blogger...
Blogging tips