Hi Goddesses
It's here! The new 31 Day Challenge is here! Hopefully, it's full of enough new and different prompts to encourage you to take part, and it's still not to late to join us HERE. Here's the full list of prompts we have coming up.

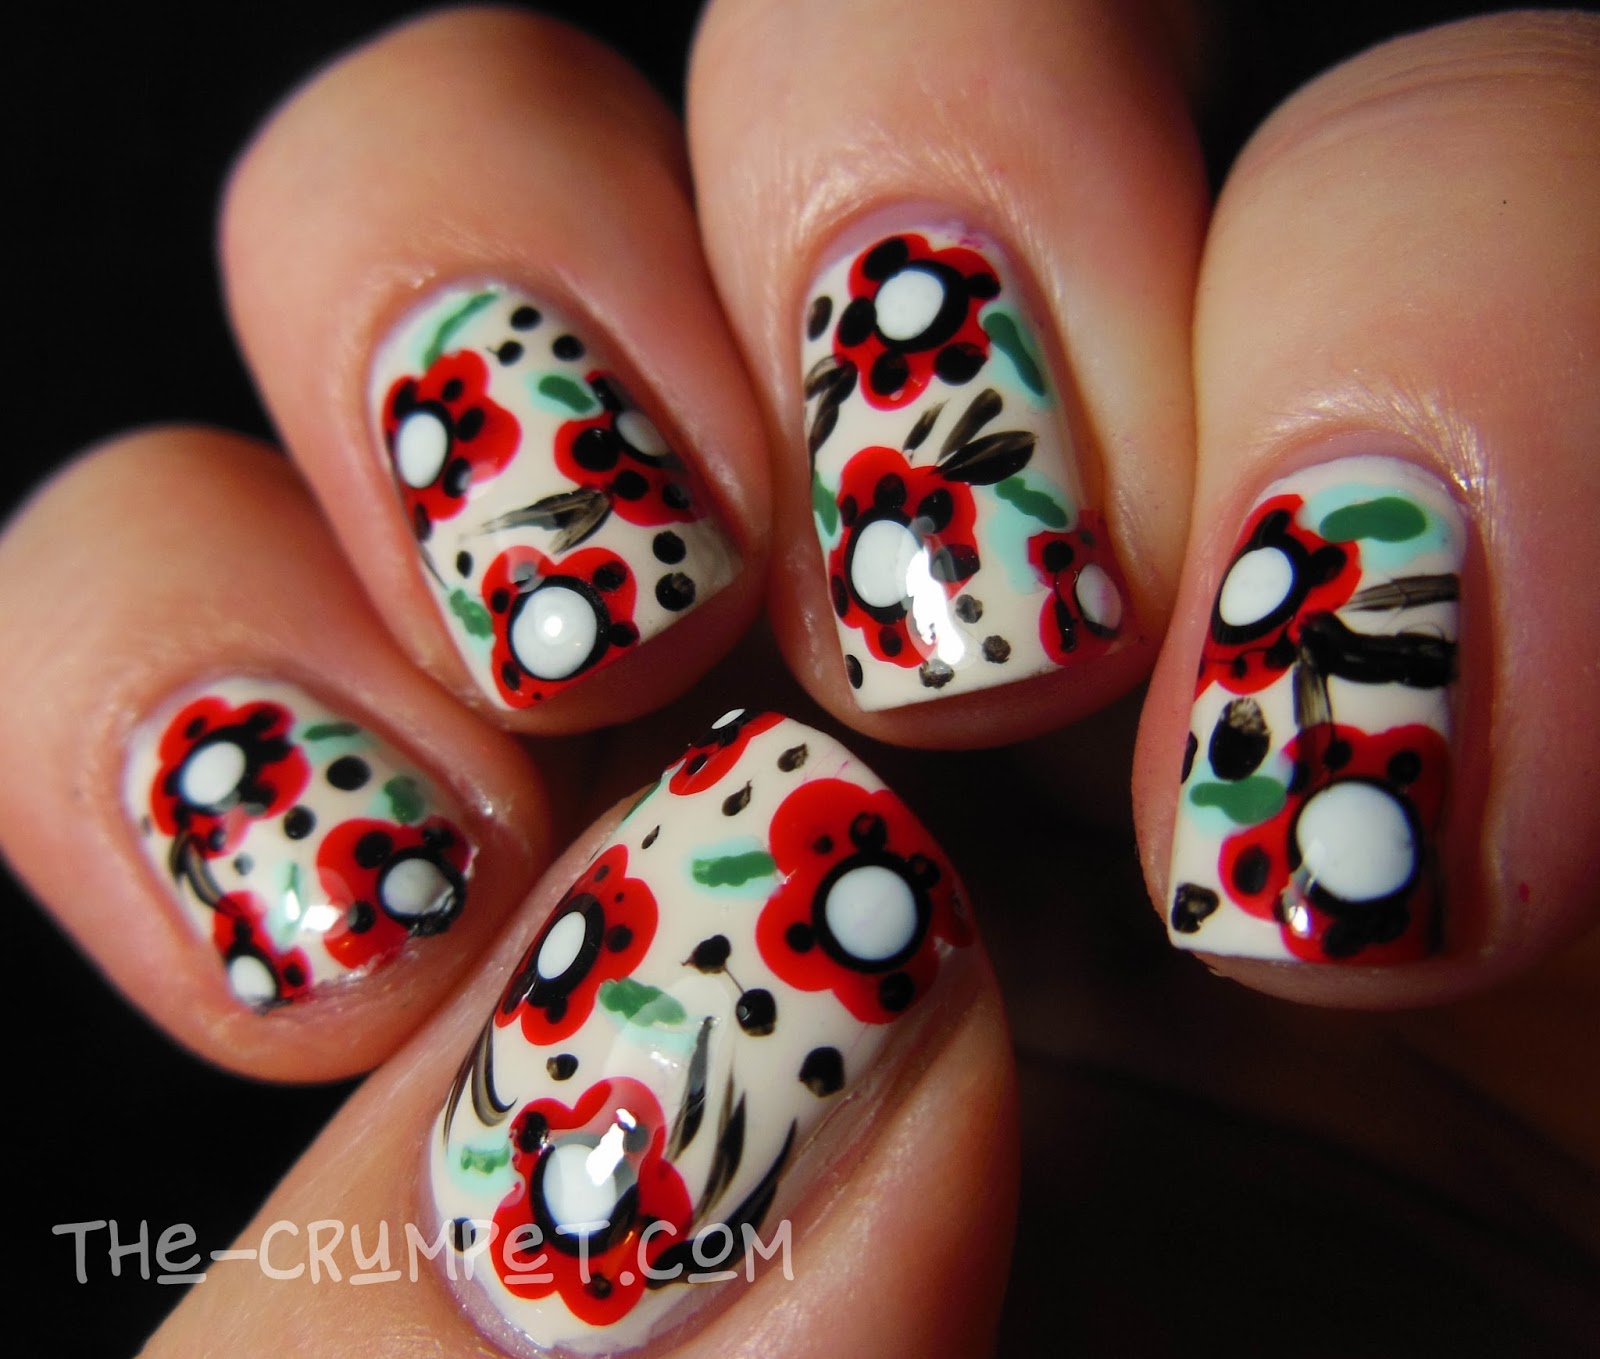
Those of you who know me or read this blog a lot know that I have mental challenges lol, and creating this mani was one such example. Follow a tutorial, follow a tutorial ..... I search pinterest, YouTube, nothing catches my eye. I look up. What's that? Oh yeh, the Idiot's Guide to Nail Art I am supposed to be reviewing for my friend Emily, which features 75 tutorials. DOH!
A few things about the book first - I really like it. I love the layout, the fact it's divided into simple / intermediate / advanced types of nail art. I love how each page has the same layout - side photo and all the tools you need on the left -
Step by step instructions on the right.
So, so surface, so good. But does it actually work? I chose an intermediate design to try it out - this is Poppy Floral from page 118-9.
The first few steps were really easy -
Then I added the petals - tip. THINK ABOUT IT. Pick the right green, not just one that's lying on your desk. Bad Crumpet!
And I also didn't do so well with those wispy bits. I think mostly that was to do with having my hand at a strange angle, or maybe not leaving enough room on the nail for them.
So how does my version compare to Emily's?
Not too bad. I really like my version, and other than the wispy bits, I'm really happy with it. Hers is definitely more professional though!
I should also add that Emily's book contains all sorts of other info too - nail care, resources - you name, it's in here. Although she's a friend, I'll always be honest, and I do think this is a great book for a nail art novice. Emily always manages to make things look simple, and there are some really cool looks in here that are effortless to do.
By day, you can find Emily's blog HERE and her book is available on Amazon from tomorrow. If you're in the UK, the link is HERE, and the book is priced just £10.92.
Emily's book was sent to me for an honest review.

Hi Goddesses
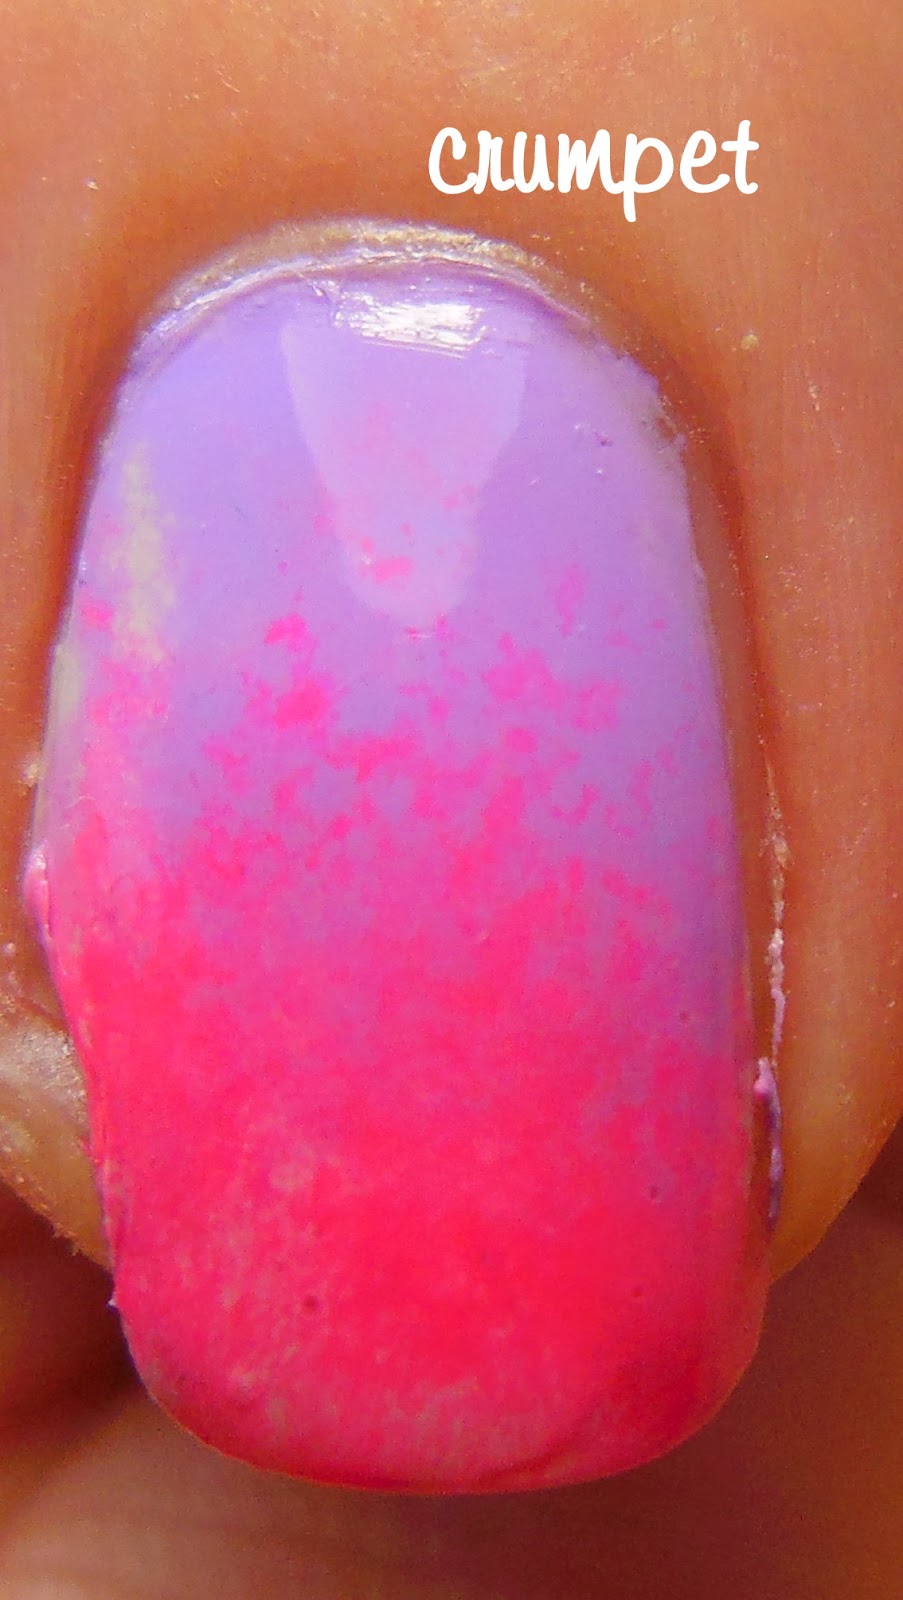
Today is the last of our "dots on top of a non-plain base" manis, and today we are dotting on top of a gradient.
As with the last couple of manis, the purpose of this is 2-fold -
1. to show that you don't have to have super advanced skills to make a really pretty mani with depth and interest to it
2. it's a great way to extend your mani over the week - Day 1, plain > Day 2, gradient > Day 3, ooooh I'll add some dots
Dotting over a gradient is one of my favourite styles of manis. It's simple, easy and PRETTY :)
Here I've used the base I did for gradient week, and then dotted over it with BSquared With All My Heart.
No tutorial for this one, but here are some other manis you might draw inspiration from -

 source


Enjoy!
Hi Goddesses
Hmmmmm. Where to start. I was very much looking forward to this tutorial, and explaining the different types of gradient, and how to reverse mistakes and .... hhhmmmm.
L to R - all China Glaze - Lotus Begin, Peonies and Park Ave and In A Lily Bit
The voiceover is fine but I am really disappointed with the video - I tried a new camera angle and there are parts of the video where it really doesn't work, so I apologise deeply for that. I may have to replace it at some point.
Gradients seem to frustrate a lot of people, and in the video I make the point that that's because a lot of people are aiming for Nailasaurus perfection. Whilst her gradients are epic, they came with a LOT of practice, so don't beat yourself up.
The video does explain a slightly different gradient you can start with - the sloppy gradient - and also how to colour correct.
BOUNCE
This is the key word. Whatever type of sponge you use, your touch must be light and bouncy, as if your nail were a venus flytrap. The bouncier your touch, the more subtle the effect. BOUNCE !!!
Here's the video, and then we'll look at some great examples -
So just to recap the examples you saw in the video -
The Nailasaurus version - check our her video here.
The sloppy gradient - my preferred style.
3 colour gradient.
Sideways gradient, painted on to sponge.
Gradienting over an existing mani and colour correcting.
SO CAN YOU USE ANY TYPE OF POLISH TO GRADIENT?
In theory, yes, although some lend themselves better than others. Very opaque polishes are hard to merge, whilst jellies are a sponging dream.
2 holos can be tricky - sometimes the light robs you of the effect you want - and just bear in mind that if you use shimmers, clean up will be a bitch!
And now some examples -


 This is my favourite ever sloppy gradient - I just love how the colours run and ooze together.


So there you go - if you have any questions, please leave them in the comments, or share them in group xx