Hi Goddesses
Today we end our 1st 4 week dotting rotation. Dotting tools WILL be back, because there are just so many things you can do with them, but hopefully the last 4 weeks have given you heaps of SIMPLE nail art ideas. And who are we kidding? Dots always look HAPPY!!
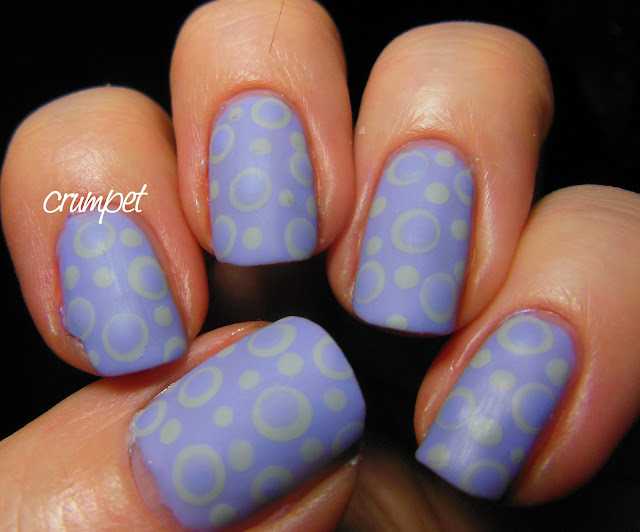
Today we do Dots Within Dots. Sometimes this is called "rings", because the trick is to make it look like you created a ring (ie a dot with a hollow centre).
Before we do the video, a couple of TIPS -
* don't overload your dotter. You'll see in the video that mine has taken on the nature of pustules lol. This is because I was doing it too quickly, to get it all within the video. Take your time, and try and keep your dots flat
* the other thing that will give you pustules is adding your 2nd dot too quickly - a lighter touch tends to leave a 3D blob as you try not to indent the base dot. Again, I have handily shown you this!
* if you do get pustules, my top tip is to add matte top coat, as I have done. It flattens things out to the eye
* I am not a big believer in practice, but you may want to do a test dot before you start. It can be quite a tricky business choosing the right 2 dotters. Choose one that's not different enough and your 2nd dot all but hides the first. Choose a dotter that's too different and you lose the "ring" effect
* you can even do triple rings. I've only done this once (see below) but it sure was pretty.
In my mani, I've used 2 of the stunning new Cadillacquer polishes - Spectrum and All Sparks.
Ok - here's the vid -
Finally, here's some other beautiful examples -


image source
image source
image source


